
RFID/NFC Implant [English]
Introduction
RFID stands for Radio Frequency Identification and NFC stands for Near Field Communication. Most smartphone nowadays support NFC and some also support RFID (like the Samsung Galaxy S3 but not the S4/S5!)
RFID/NFC tags are fairly widespread in items we use daily: Theft protection, mobile phones, animal identification, door locks… Some years ago I bought my first arduino compatible rfid reader and some cards and played a bit with it but I didn’t really have a practical purpose for it. Some time has passed and RFID/NFC is even more widespread than it was some years ago. One has to keep up with the times, right? That’s why I collected some ideas to use this fantastic technology a little bit more.
In the last article I mentioned the use of RFID as a replacement for a mechanical key. I could simply use an RFID tag on my key ring but that would kind of defeat the purpose of it. It doesn’t really matter if there’s a key or an RFID tag on the key ring. But what about a normal NFC ring? (See picture below) Well, that would fulfil the purpose. The problem here is: I don’t really want to wear a ring (in fact I hate them) and I shouldn’t wear a ring for work due to safety reasons. And I would loose my ring eventually if I had to remove it every day for work. That’s why I got an RFID implant! I won’t ever loose or forget it and most people won’t even know it’s there.

Different types of implantable tags
There are about 3 common tags on the market today.
- ISO14443A compatible tags like NTAG203, NTAG216, MF series, Ultralight (13.56MHz)
- ISO15693 compatible tags like I CODE SLI, NeroX122 (13.56Mhz)
- ISO11784/785 compatible tags (134.2 kHz)
- EM4200 compatible tags (125kHz)
While not all tags of the first group (ISO 14443-A) are NFC compliant, the NTAG216 that I got, is. In the beginning I didn’t know wheter I should get a Mifare Classic S50 1k or a NTAG216 but I eventually decided to go with the NTAG216 because it is fully NFC compatible (type 2). As mentioned before not all smart phone support Mifare Classic RFID tags.
Implantable tags come in various different sizes. The most common size for human implants is 2.12 x 12mm. It’s considered to be a good compromise between tag size and reading range. The smallest commonly available are about as big as a rice grain (1.25 x 7mm). The larger ones are almost as big as a match (4 x 34mm). I certainly wouldn’t want to have one of those implanted…

RFID tags vs. rice grains.
How does one get a tag like this under the skin? There are two options. Implant it like every other thing gets implanted: Cut the skin open, place it in the fascia layer (=subdermally) and stitch the skin together. The second – and better – option is to place the tag in a large gauge syringue, then insert the syringue where you want the tag to be, pull the syringue a little bit back and press the plunger. Now retract the seringue, apply some pressure with a sterile gauze to the puncture and you’re ready to go. If you’re afraid of syringues its better to bite the bullet and stick to this variant as it is much more comfortable and less prone to infection. And by the way… doctors/surgeons won’t do it in general (maybe cosmetic surgeons but that’s expensive) and piercers/body modificators are not qualified as anaesthetists. In this case whiskey is your friend 😉 No seriously, it doesn’t hurt very much so one should be fine without local anesthetics.

Here’s how my bundle looked when it arrived. it was neatly packed with some sterily gauze, a pre-loaded syringue and some latex gloves. I ordered my tag from dangerousthings.com. Later I realised that I could have got a sterile and pre-loaded syringue for maybe 5CHF. (To implant in animals)

What about security?
It is well known that many rfid tags can easily be accessed without any authorisation. Access means read/write or even copy the tag. For example the MIFARE Classic 1k from NXP, which is one of the most used tags at the moment, can be copied within about 10 minutes if the right tools are used. (Proxmark3 for example) There are chinese tags on the market where the UID can be overwritten thus making an exact clone of a MIFARE classic 1k a very simple task. Many tags don’t even have an encryption module.
Despite those issues I am not worried about security. First, people have to know that I am using an implanted tag to unlock my bike/phone/computer etc. Second, the NTAG216 offers some security features that haven’t been cracked yet. (32Bit password, wrong password count, ecc based originality signature etc) So it is unlikely to clone the tag before bricking it. Third, those people who know that I’m wearing the tag are most likely not interested in cloning the tag. Generally speaking: Yes, the glass ampoule style tags are not secure but who cares? You might be interested in this article [German].
Another safety “feature” is the low achievable reading range. The tag can onle by read whitin a few millimeters of the antenna. With legal antennas it is impossible to have a range of more than 2-3cm with this kind of tag. So it’s very unlikely that somebody is able to get access to the tag.
Implanting the tag
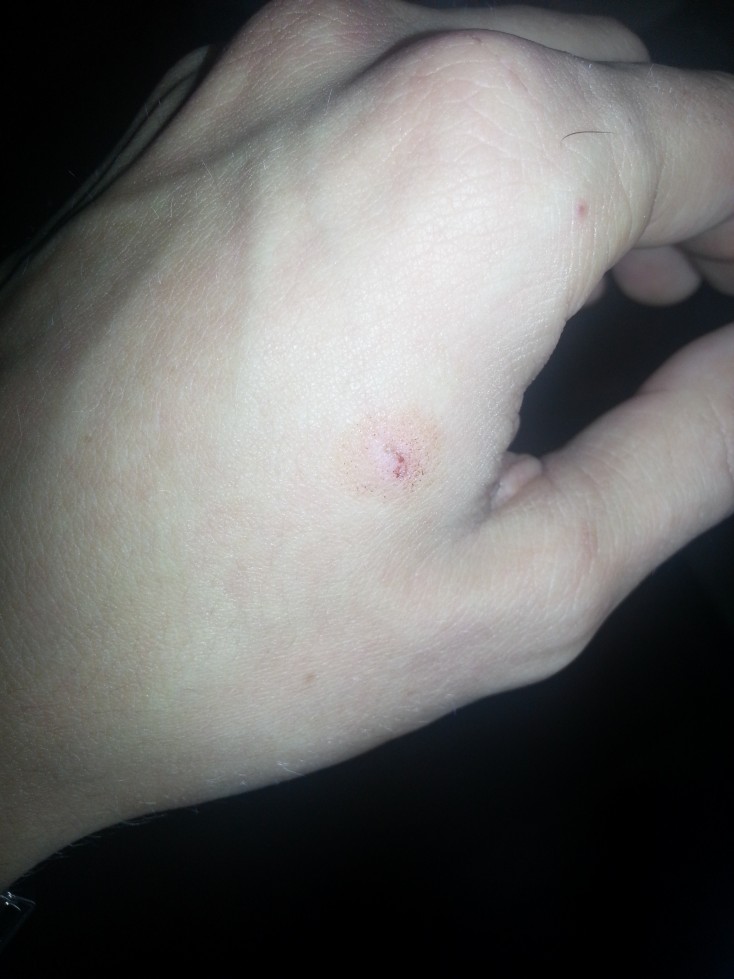
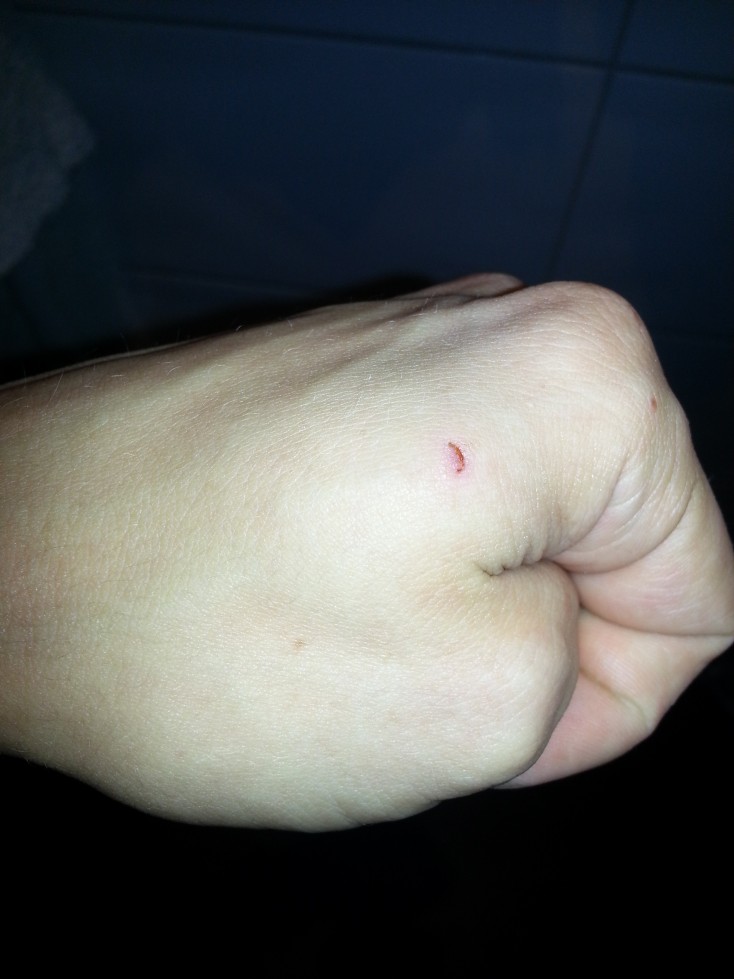
I didn’t take a video of getting the tag implanted but it was quite unspectacular anyway. When the needle punctures the skin it stings a little and afterwards it feels a little uncomfortable. The whole procedure takes about 10 seconds and the risk of infection is really low if all the tools were properly sterilized before. The next pictures are one hour, one day and two days after implanting. The swelling fades after a day and you’ll be able to use your hand as usual after two days. Even though I have rather thin skin the tag can’t be seen if the hand is relaxed. If I grab a round object the contour of the tag can be seen.

RFID windows login
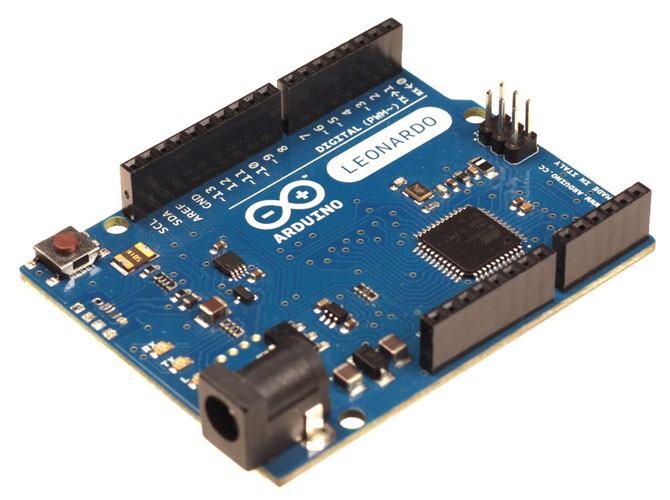
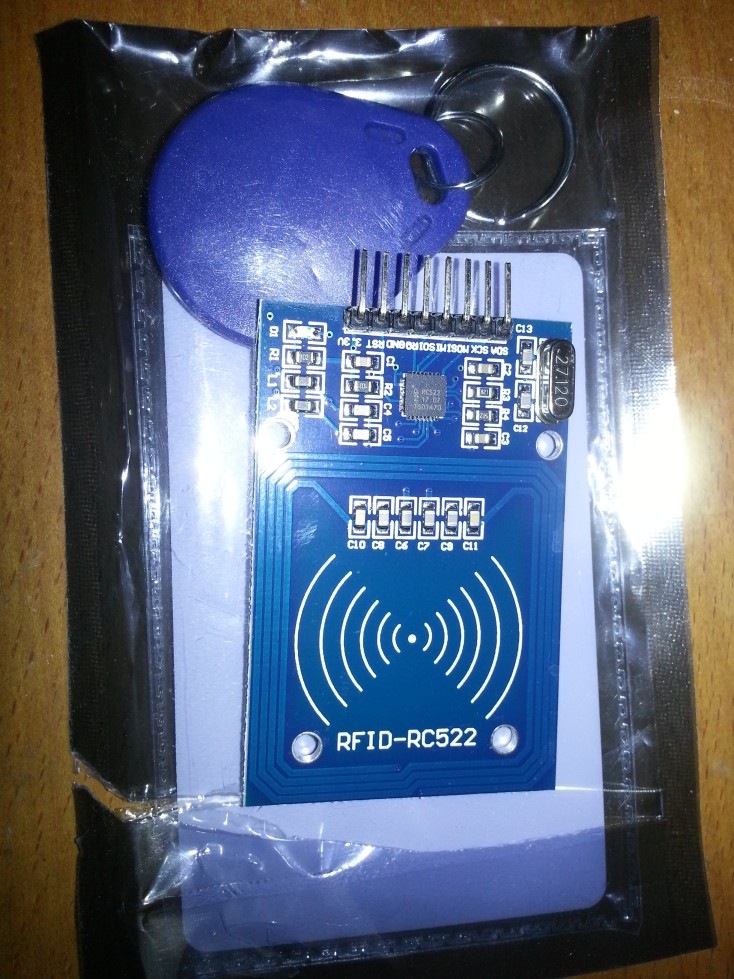
With an arduino leonardo and an RC522 rfid antenna this is a rather simple task. The arduino is able to act as a HID (Human Interface Device) like a mouse or a keyboard. Once the arduino detects the rfid chip it simply sends a string – your password – to the computer. It should also work with OSX and Linux (not tested). I bought the arduino leonardo from aliexpress.com for 7USD and the reader for 2.7USD.
The following code is not tested at the moment 5/10/14. Without modification it only works with the Arduino Leonardo & Due. By the way: The UID in the code is not the one from the tag implanted into my hand 😉 Since the Arduino Leonardo doesn’t have any SPI functionality on the normal digital pins, the RC522 has to be hooked to the ICSP pins of the board.
#include <SPI.h>
#include <MFRC522.h>

#define SS_PIN 10
#define RST_PIN 5
#define	uchar	unsigned char
#define	uint	unsigned int

MFRC522 mfrc522(SS_PIN, RST_PIN);	// Create MFRC522 instance.
uchar serNum[5];

void setup() {
	Serial.begin(9600);	// Initialize serial communications with the PC
	SPI.begin();		// Init SPI bus
        Keyboard.begin();       // initialize control over the keyboard:
	mfrc522.PCD_Init();	// Init MFRC522 card
}

void loop(){

        // Look for new cards
        if ( ! mfrc522.PICC_IsNewCardPresent()) {
                return;
        }

        // Select one of the cards
        if ( ! mfrc522.PICC_ReadCardSerial()) {
                return;
        }
        Serial.print("Card UID:");
        for (byte i = 0; i < mfrc522.uid.size; i++) {
                Serial.print(mfrc522.uid.uidByte[i] < 0x10 ? " 0" : " ");
                Serial.print(mfrc522.uid.uidByte[i], HEX);
                serNum[i]=mfrc522.uid.uidByte[i];
        }
        Serial.println();

        // Checking the UID
        if(serNum[0] == 153 && serNum[1] == 154 && serNum[2]==85 && serNum[3]==45 && serNum[4]==202) {
                 Keyboard.print("insert password here");
        }
}
For more information have a look at the following links:
https://github.com/miguelbalboa/rfid
http://arduino.cc/en/Guide/ArduinoLeonardoMicro?from=Guide.ArduinoLeonardo
Are the bytes written in your RFID chip [153,154,85,202] ? is that correct?
Yes. This is the serial number of a generic rfid tag. If you want to get the thing working with an NFC Tag you should use a PN532 Reader. The MFRC522 won’t work.